RPC框架thrift在PHP结合Laravel使用
前言
前面对于thrift的基本有大致了解,现在小试牛刀吧。
实现过程
- 新建一个Laravel项目
- 编写thrift接口文件并且保存为
sayHello.thrift(Server端以及Client端接口保持一样)原则上Server端以及Client端是分开在两个Laravel项目的,博主这里为了简单一点就直接一个laravel项目上包括两个啦。所以在thrift命名空间上有点区别。
# 这个是Server端
namespace php App.Library.Thrift.Server # 指定生成语言,已经生成文件存放目录(也就是命名空间)

  // 定义接口
  service sayHelloService {
      string helloWorld(1:string params)
  }

# 这个是Client端
namespace php App.Library.Thrift.Client # 指定生成语言,已经生成文件存放目录(也就是命名空间)

  // 定义接口
  service sayHelloService {
      string helloWorld(1:string params)
  }
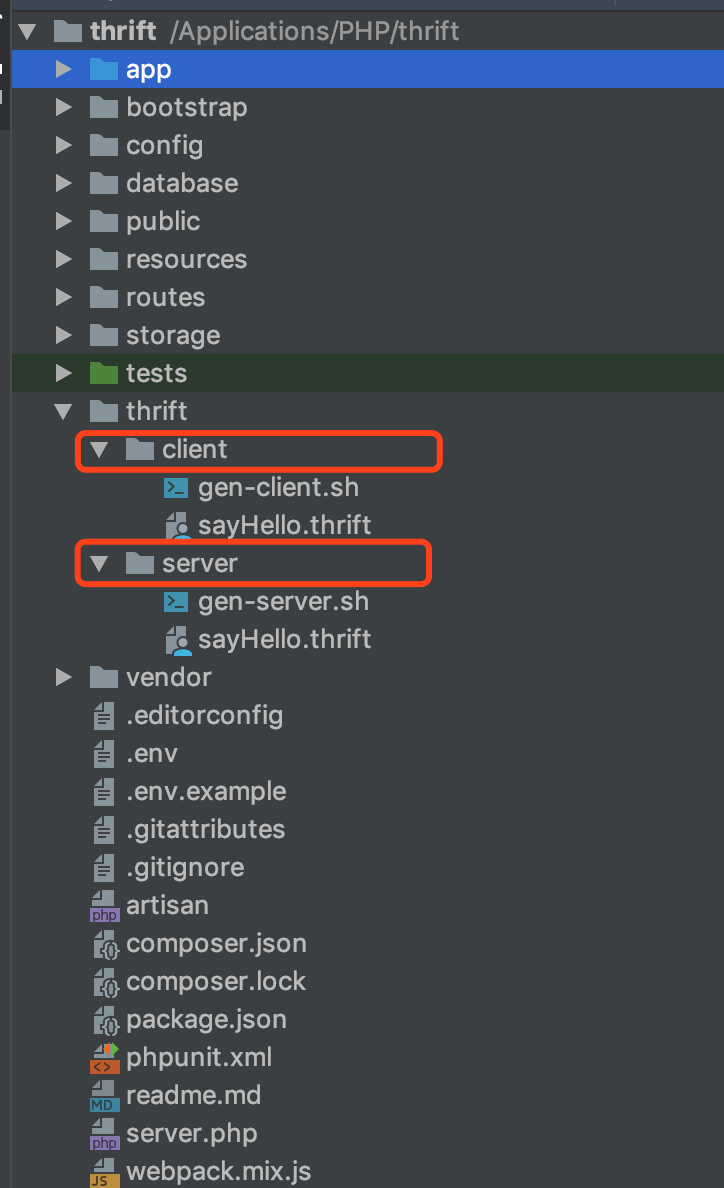
这是博主的thrift文件存放目录
编译产生PHP对应的代码
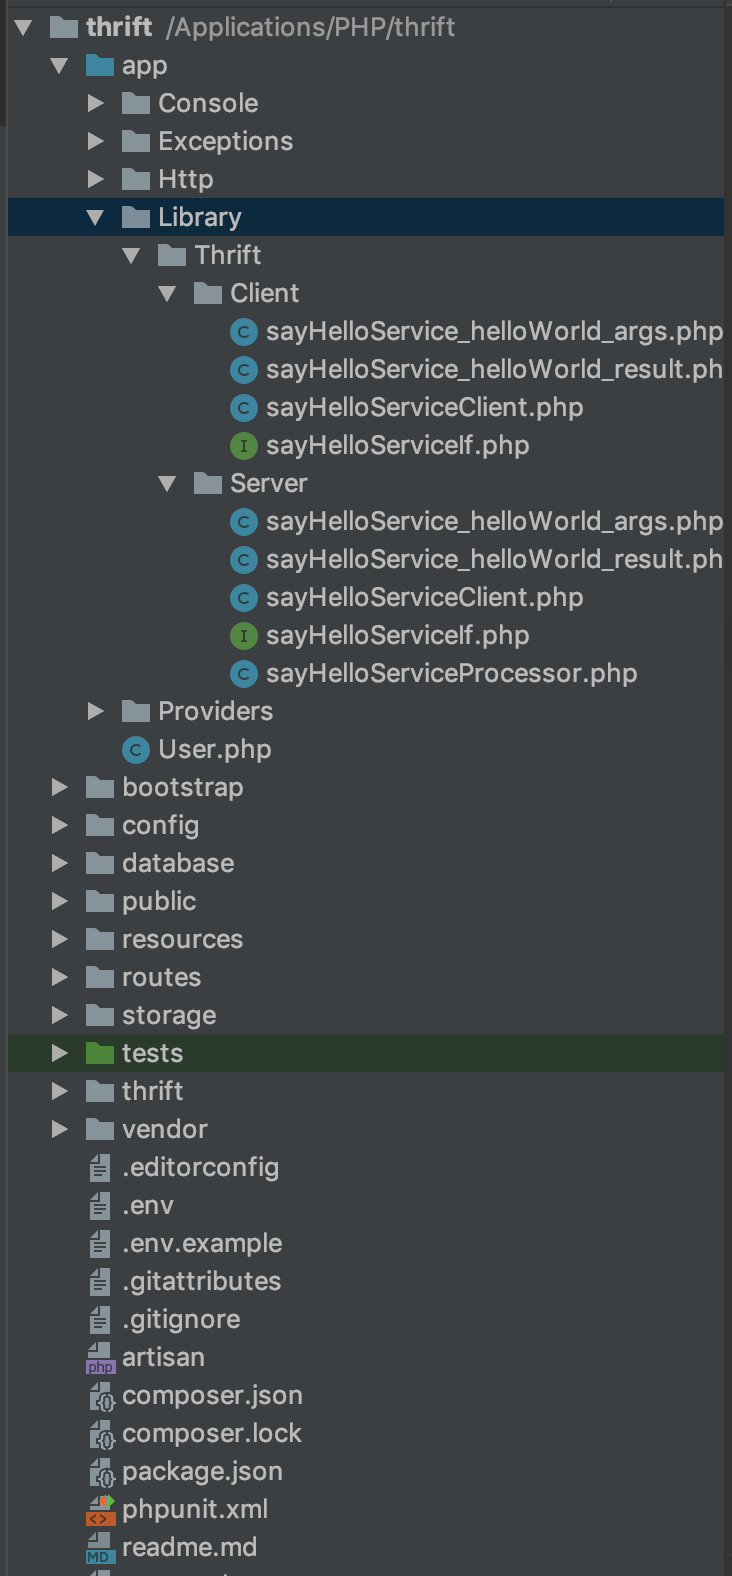
# Server端编译(注意相比Client多server声明,这样的话会比Client端Processor这个类) thrift --gen php:server,psr4 -out ./ sayHello.thrift # Client端编译 thrift --gen php:psr4 -out ./ sayHello.thrift将Server端生成的5个PHP文件以及Client端生成的4个PHP文件拷贝到定义的命名空间下。(
App.Library.Thrift.Server及App.Library.Thrift.Client博主是这样的命名空间,你可以自己修改,但必须要放正确位置。)存放后的项目目录文件示例。
安装thrift PHP依赖
# 需要注意安装的扩展包的版本要跟你系统安装的thrift版本一致。
composer require apache/thrift
Server端实现接口
# 博主这里就在Library文件夹目录新建一个`Rpc文件夹并且创建一个Server类`,让该`Server类`实现`sayHelloServiceIf`接口。
<?php

  namespace App\Library\Rpc;

  use App\Library\Thrift\Server\sayHelloServiceIf;

  class Server implements sayHelloServiceIf
  {

      /**
       * 实现方法这里,博主为了简单方便就直接return参数。
       * @param string $params
       * @return string
       */
      public function helloWorld($params)
      {
          // TODO: Implement helloWorld() method.
          return $params;
      }
  }
Server端服务启动
# 博主这里就直接console command方式启动服务吧

# 新建一个console command方法
php artisan make:command rpcServer

# 修改$signature启动命令并且handle中实现启动
protected $signature = 'rpc:start';

public function handle()
  {
      try {
          $thriftProcess = new sayHelloServiceProcessor(new Server());
          $tFactory = new TTransportFactory();
          $pFactory = new TBinaryProtocolFactory();
          $processor = new TMultiplexedProcessor();

          // 注册服务
          $processor->registerProcessor('sayHelloService', $thriftProcess);
          // 监听本地9999端口
          $transport = new TServerSocket('127.0.0.1', 9999);
          $server = new TSimpleServer($processor, $transport, $tFactory, $tFactory, $pFactory, $pFactory);
          $this->info("服务启动成功!");
          $server->serve();
      } catch (TException $exception) {
          $this->error("服务启动失败!");
      }
  }

# Kernel.php中注册该console command
protected $commands = [
      rpcServer::class
  ];

# 尝试启动
php artisan rpc:start

# 检查是否已经启动(这里监听的是9999端口)
lsof -i:9999  # 正常启动后会出现一行文字
Client端调用接口方法
 # 博主依然在Library文件夹中新建Provider文件夹并且创建一个ServiceProvider类,用于连接Server端(大致代码如下)
 class ServiceProvider
  {
      public static function getService()
      {

          try {
              # 需要特别注意ip跟端口与Server端一致,否则无法正常通讯
              $socket = new TSocket("127.0.0.1", "9999");
              $socket->setRecvTimeout(50000);
              $socket->setDebug(true);
              $transport = new TBufferedTransport($socket, 1024, 1024);
              $protocol = new TBinaryProtocol($transport);
              $thriftProtocol = new TMultiplexedProtocol($protocol, 'sayHelloService');
              $client = new sayHelloServiceClient($thriftProtocol);
              $transport->open();
              return $client;
          } catch (TException $TException) {
              dd($TException);
          }

      }
  }

  # 创建一个RpcController控制器用于调用接口
  class RpcController extends Controller
  {

      public function rpcClient(Request $request)
      {
          $params = $request->input('rpckey');

          # 实现调用刚刚写的连接启动类,然后调用helloWorld方法(helloWorld那里来?  之前在thrift文件中定义的接口,而且服务端也对其实现啦,这里就可以直接调用)
          $result = ServiceProvider::getService()->helloWorld($params);

          return response()->json($result);
      }
  }
修改路由web.php文件,实现控制器的方法访问
Route::get('/rpc/client', 'RpcController@rpcClient');完成后的整体文件目录情况

启动服务(包括Server端、Client端)
# Server端
php artisan rpc:start

# Client端(这里博主直接php-cli方式启动吧)
cd public
php -S localhost:8080
服务路由
http://localhost:8080/rpc/client?rpckey=helloworld

这样就会在屏幕中输出“helloworld”字样。
到这,一个简单的例子完成。